
Introduction
Getting your printer ready to use is key for better productivity and smoother work or home tasks. Whether you want to print from your laptop, tablet, or phone, choosing the right connection makes all the difference. There are three main ways to connect a printer: Wi-Fi, wired network, and USB cable. Each has its own perks and challenges. This guide walks you through each setup method so you can print effortlessly and get it right the first time.
Understanding Printer Connectivity Options
Overview of Printer Connection Types
Printers connect to devices in these common ways:
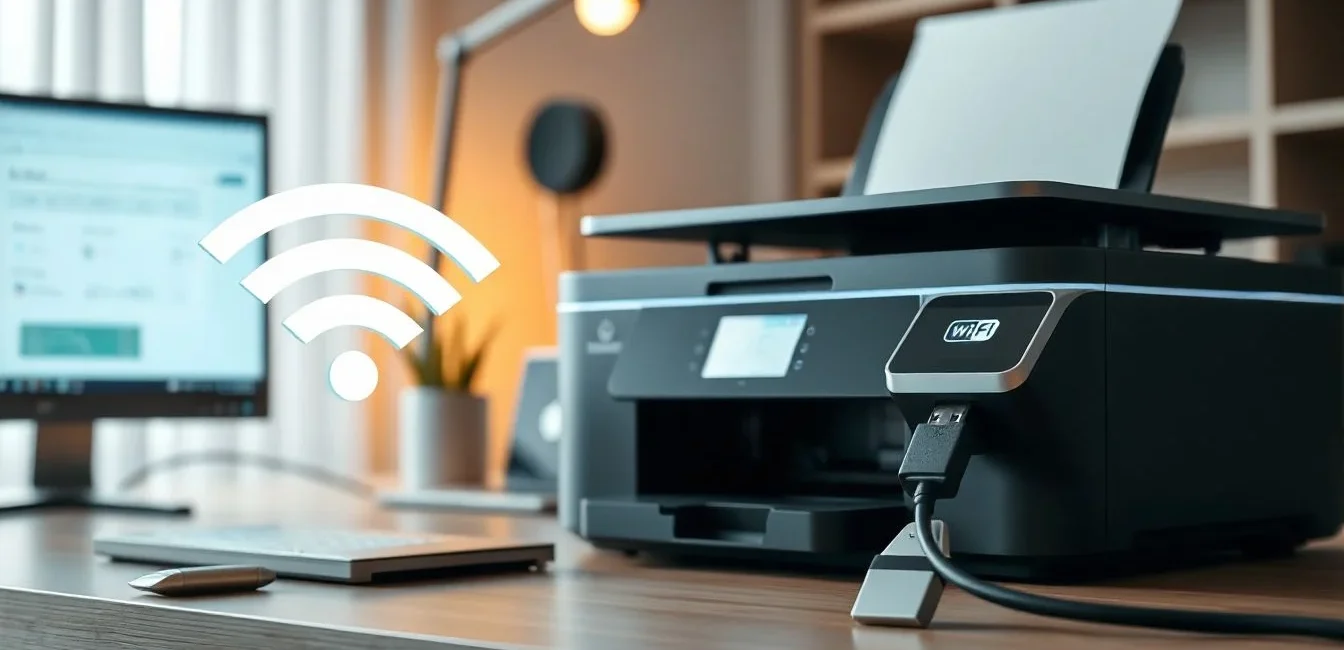
- Wi-Fi: Wireless connection that lets you place your printer anywhere within your network range. Great for multiple devices, including smartphones.
- Wired Ethernet: Connecting directly through an Ethernet cable to your router or network switch. Known for stability and faster data transfer.
- USB Cable: The simplest setup, connecting directly to a computer via USB port. Ideal for single-device use and quick setup.
Each type has its pros and cons. Wi-Fi offers mobility but can be tricky to troubleshoot. Wired Ethernet provides a reliable bond but limits placement options. USB is perfect for quick use but isn’t network-friendly.
Choosing the Right Connection for Your Needs
Think about what works best for where you are. Want to print from any device in your home? Wi-Fi is best. Need consistent speed without interruptions? Wired Ethernet fits the bill. Setting up for a single computer? USB is simple and quick.
Here are some real-world examples:
- Home Users: Prefer Wi-Fi for easy printing from all gadgets.
- Small Offices: Use Ethernet for steady, high-speed printing.
- Students or Freelancers: Just connect via USB for a hassle-free task.
Common Challenges and Solutions
Connection problems happen. Wi-Fi printers may disconnect or be slow. Ethernet setups can face IP conflicts. USB cables might not be recognized. Make sure your firmware is up to date, restart your devices, or check your network settings. For security, change default passwords and turn on encryption for Wi-Fi or wired networks.
Setting Up a Printer with Wi-Fi
Preparing Your Printer and Network
First, ensure your printer supports Wi-Fi. Place it where the signal is strongest—away from thick walls or interference. Confirm your Wi-Fi is working correctly and your device is connected to the same network.
Connecting the Printer to Wi-Fi
Most modern printers allow automatic connection:
- Turn on your printer.
- Select Wi-Fi setup from the menu.
- Choose your network name.
- Enter the Wi-Fi password if prompted.
- Wait for confirmation that the connection is successful.
For manual setup, you might need to enter network details through the printer’s control panel or web interface.
Using manufacturer apps simplifies setup:
- Download the app from the printer maker.
- Follow the guided steps to connect your printer to Wi-Fi.
- Some apps automatically detect your printer for quick setup.
Installing Printer Drivers and Software
Next, download the latest drivers from the official website. Use the CD if provided. Make sure the software matches your operating system, such as Windows or Mac. Installing the latest driver ensures compatibility and access to all features.
Testing Wireless Connection
Print a test page through your device’s print menu. If it works, you’re good! If not, check your Wi-Fi signal. Restart your router or scanner. Sometimes, resetting the printer’s network settings helps.
Setting Up a Printer via Wired Ethernet
Preparing Your Ethernet Network
You’ll need an Ethernet cable—preferably CAT5e or higher—and a router or network switch nearby. Keep the cable tidy and avoid tangling for better reliability.
Connecting the Printer to the Network
Follow these steps:
- Turn off the printer.
- Connect one end of the Ethernet cable to the printer’s Ethernet port.
- Connect the other end to your router or switch.
- Power on the printer.
Once connected, access the printer’s web interface or menu to enable network settings.
Installing Drivers and Network Configuration
Download the latest drivers from the manufacturer’s website. For easier management, assign a static IP address to the printer, preventing IP conflicts later. Use the printer’s menu or web interface for setup.
Verifying Wired Connection
Print a test page to confirm the setup. From multiple devices, check if the printer shows up in network lists. This confirms proper connection and ready-to-print status.
Setting Up a Printer Using a USB Cable
Required Equipment and Preparations
Use a high-quality USB 2.0 or 3.0 cable, depending on your printer model. Confirm your computer has an available USB port. Check that your printer is compatible with your operating system.
Connecting the Printer to a Computer
- Power on your printer.
- Connect the USB cable securely to both the printer and your computer.
- Wait for your system to detect the device automatically.
- Follow prompts to install drivers if needed.
Installing Printer Drivers and Software
In many cases, your OS will recognize the device and prompt for driver installation. If not, visit the manufacturer’s website for the latest software. Follow the installation steps, choosing custom settings if you want more control.
Confirming Successful Setup
Print a test page from your computer. If it comes out fine, you’re ready to print. Adjust print preferences like quality or paper type if needed through the printer settings.
Additional Tips for Smooth Printer Setup
- Regularly update your printer’s firmware and drivers.
- Keep your wireless and wired connections secure with passwords.
- Use print management tools especially if you have multiple devices.
- Visit the manufacturer’s website or support forums for help with obscure issues.
Conclusion
Setting up your printer doesn’t have to be complicated. Whether you prefer Wi-Fi, Ethernet, or USB, each method comes with clear steps and tips for success. Pick the connection that suits your space and workflow. Remember, keeping your printer updated and secure makes a big difference in performance. Keep your setup documentation nearby so troubleshooting is easier if needed. With a little patience, you’ll have a reliable printer ready for all your printing needs.